Drones are the cool kids on the tech block, and assembling one can feel like building your own spaceship. But fear not! With the right assembly instructions, even the most unhandy person can transform a pile of parts into a soaring marvel. Imagine the thrill of watching your creation take flight—it’s like giving a bird a new set of wings, only without the early morning chirping.
Overview of Drone Assembly Instructions
Assembling a drone presents an exciting opportunity to engage with technology. Following detailed instructions ensures a successful build and enhances the flying experience.
Importance of Proper Assembly
Proper assembly guarantees optimal drone performance. Well-constructed drones exhibit stability, enhanced flight times, and improved maneuverability. Misalignments can lead to crashes, damaging components. Additionally, ensuring correct wiring promotes safety, reducing the risk of electrical failures. Precision in each step boosts the drone’s longevity and effectiveness. New builders gain confidence as they see their attention to detail contribute to a functioning device.
Common Mistakes to Avoid
Overlooking small details frequently leads to assembly errors. Many builders ignore torque specifications, which can compromise frame integrity. Connections may appear secure without proper soldering, risking electrical failure during flight. Skipping the calibration process results in unresponsive or erratic flight behaviors. Using the wrong hardware or missing screws often leads to structural weaknesses. Builders should always consult assembly manuals for their specific model. This proactive approach ensures the drone flies smoothly and reliably.
Tools and Materials Needed
Assembling a drone requires specific tools and materials to ensure success. Gathering the right items beforehand simplifies the process and enhances the overall experience.
Essential Tools for Assembly
Screwdrivers come in various sizes, providing the necessary torque for different screws. Pliers assist in gripping and twisting wires efficiently. A soldering iron becomes essential for securely connecting electronic components. Scissors or a hobby knife help in cutting materials like wires or insulation. A multimeter aids in testing electrical connections, ensuring they function optimally. Tweezers allow for precise handling of small components. Lastly, a workbench or sturdy surface guarantees stability while assembling the drone.
Recommended Materials
Drones require several key materials for assembly. A frame forms the foundation, often crafted from lightweight materials like carbon fiber or plastic. Motors facilitate movement, with brushless motors being a popular choice for efficiency. Propellers come in various sizes, contributing to flight performance; selecting the right size is crucial. Batteries power the drone, typically lithium-polymer for their high energy density. Flight controllers integrate various components, enabling communication between hardware. Additionally, wiring harnesses streamline connections, promoting organization and ease of installation.
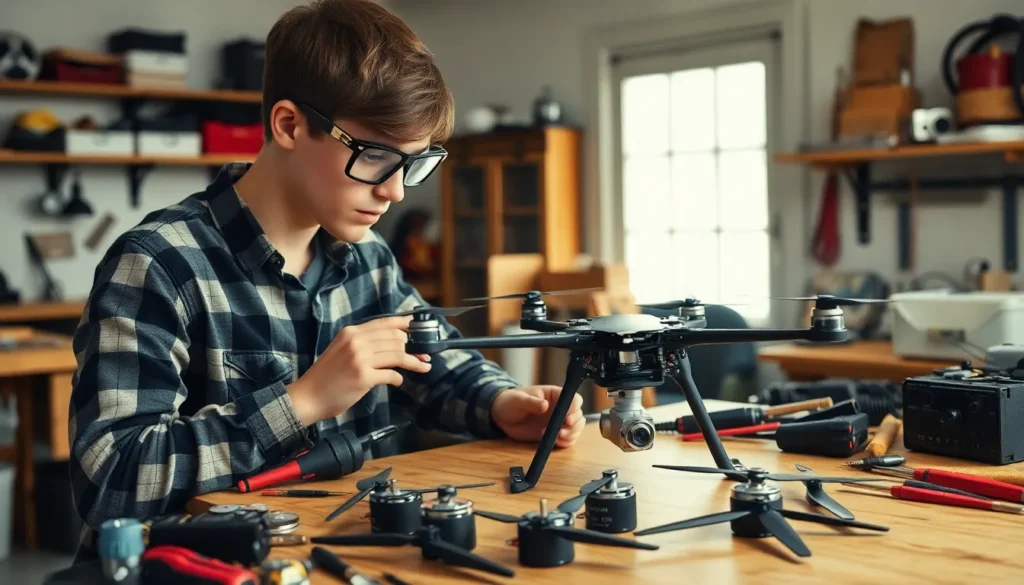
Step-by-Step Assembly Guide
Follow this structured guide for seamless drone assembly. Each section outlines crucial steps to ensure optimal performance and safety.
Preparing Your Workspace
Create a clean, organized workspace for efficient assembly. Ensure that lighting is bright enough to see small components. Lay out all tools and materials within easy reach. A stable surface, like a workbench, provides a solid base for building. Minimize distractions to maintain focus. Keep a trash can nearby to dispose of waste, such as packaging materials. This preparation sets the stage for a smooth assembly process.
Assembling the Frame
Start by aligning the frame components according to the instructions. Use appropriate screws for each section to ensure a sturdy build. Check that all corners and joints fit snugly; loose components can compromise stability. Utilize a level surface to verify frame alignment before tightening the screws. Follow the torque specifications provided to prevent over-tightening, which could damage the frame. Once assembled, double-check the frame for any misalignments to guarantee durability during flight.
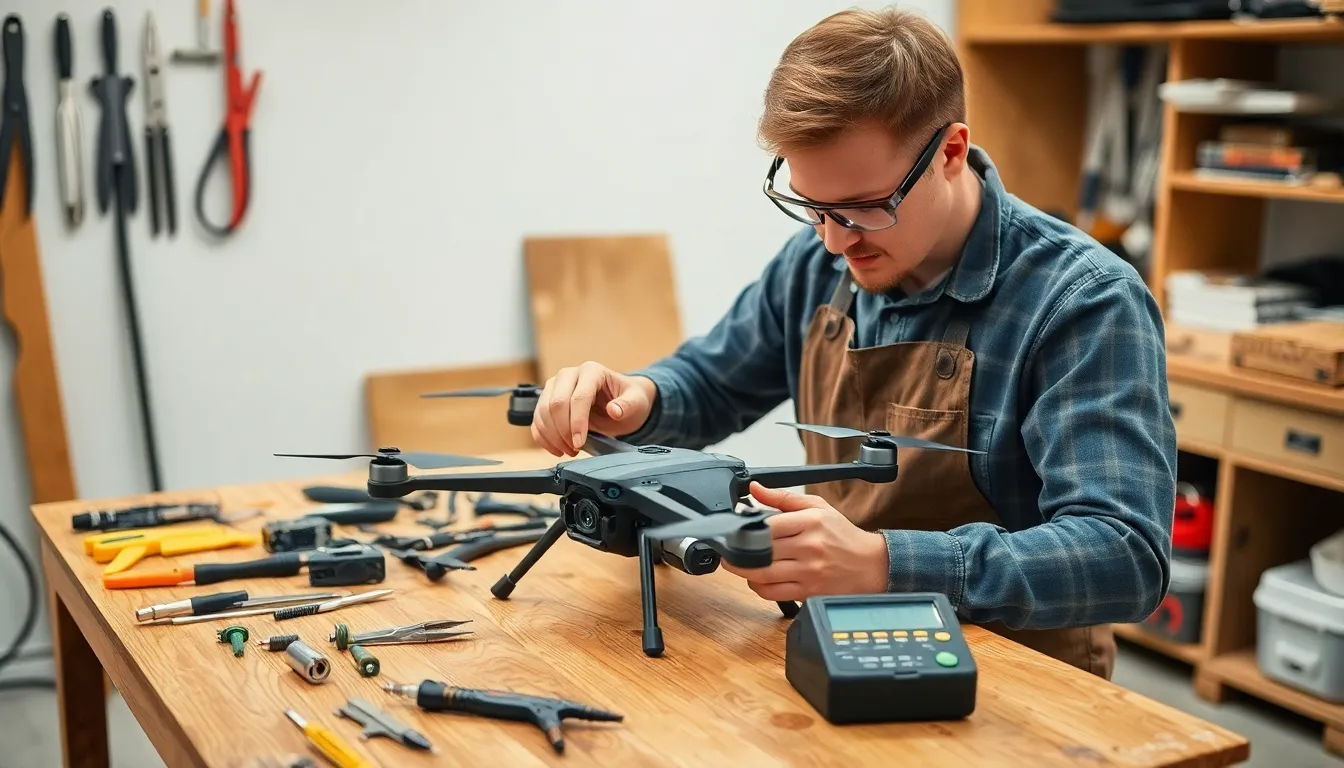
Installing the Electronics
Install the flight controller in the center of the frame for balanced weight distribution. Ensure that wires are routed neatly to avoid interference. Solder connections carefully; efficacy in the wiring promotes safety. Connect the motors to the flight controller, verifying each connection’s polarity to prevent electrical issues. Attach the battery connector as the last step to avoid accidental power. Confirm that all components are properly secured to withstand vibrations during flight.
Attaching the Propellers
Begin by identifying the correct propeller orientation; CW and CCW markings should guide placement. Securely attach propellers to motors, using the included locking nuts. Check that each propeller spins freely without obstructions from other components. Before powering up the drone, inspect each attachment for tightness to prevent in-flight failures. Properly attached propellers enhance flight stability and maneuverability, making this step critical for successful operation.
Testing Your Drone
Testing ensures your drone operates correctly and safely. This stage involves both initial safety checks and conducting test flights.
Initial Safety Checks
Check the drone’s physical condition first. Inspect the frame for any damage or loose components. Verify battery connections and ensure they secure tightly. Confirm propeller installation aligns with the correct orientation. Secure the wiring harness, preventing any potential shorts during operation. Test the control signals by turning on the transmitter and checking for responsiveness from the drone. Ensure all electronic components function by running diagnostic checks if available. Prioritize these steps to enhance overall safety during flights.
Conducting Test Flights
Start test flights in an open area free from obstacles. Keep the flight duration short, controlling for basic maneuvers like ascents, descents, and turns. Monitor how the drone responds to controls, making note of any unexpected behavior. Adjust the trim settings if the drone veers off course. Gradually increase the flight time as confidence builds in stability and control. Record flight data for analysis, focusing on battery performance and motor efficiency. Understanding these elements helps improve future flights and overall drone performance.
Assembling a drone can be a rewarding experience that brings a sense of accomplishment. With the right tools and attention to detail anyone can navigate the assembly process successfully. Following the provided instructions allows builders to avoid common pitfalls and ensures that their drone operates efficiently.
The joy of seeing a completed drone take to the skies is unmatched. By investing time in proper assembly and testing, builders can enhance their flying experience and enjoy the full potential of their creation. Embracing this hands-on project not only boosts confidence but also fosters a deeper understanding of drone technology.